Why understanding how to calibrate a pH meter is essential
In the UK commercial HVAC sector, the chemical stability of closed-loop systems is governed by strict adherence to BSRIA BG29 and BG50 guidelines. When considering how to calibrate a pH meter, engineers must recognise that sensor drift is an inevitable physical phenomenon caused by electrode ageing and electrolyte depletion. Without regular calibration, the readings provided by your building management system (BMS) may transition from accurate data points to dangerous misinformation, potentially masking acidic conditions that accelerate galvanic corrosion. This is particularly critical in systems containing multimetal components, such as aluminium heat exchangers, which have a very narrow operating pH window to maintain their protective oxide layer.
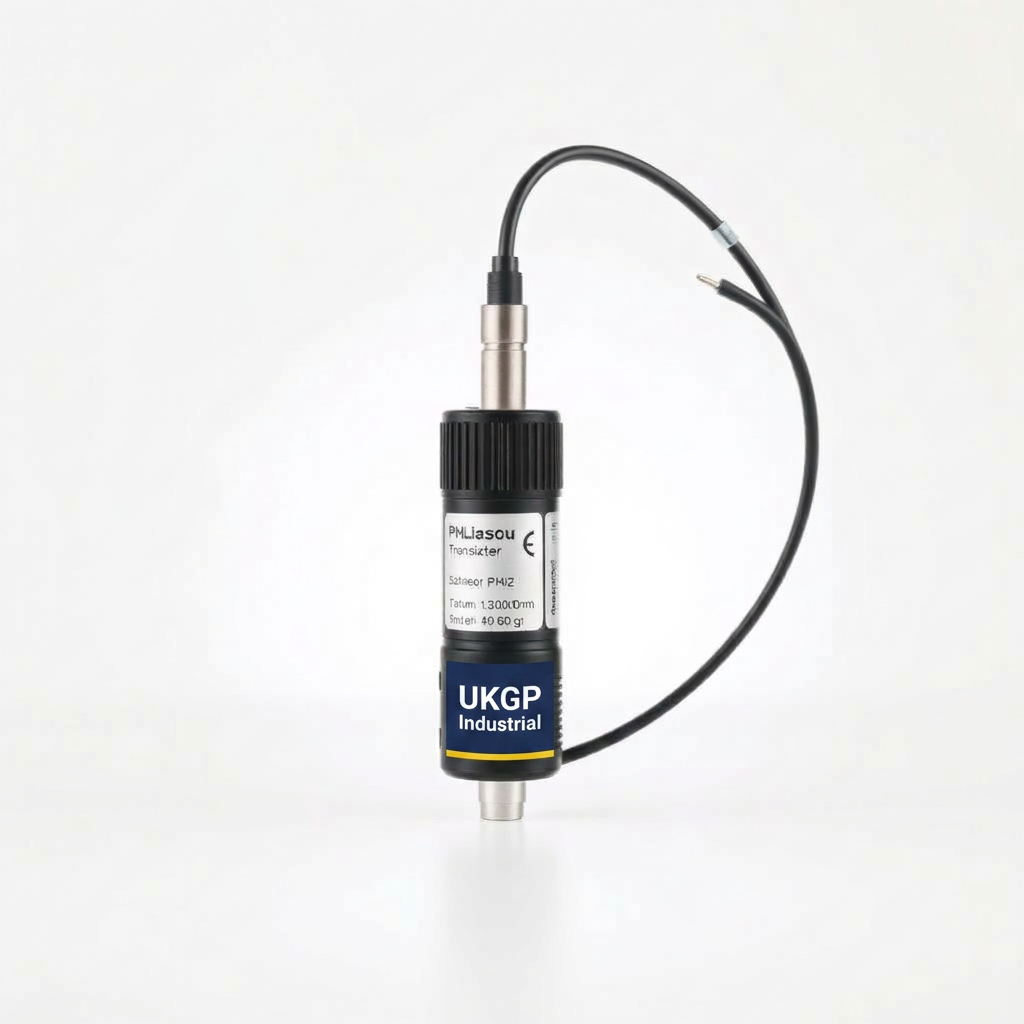
M&E contractors and facility managers often overlook the financial impact of poor sensor maintenance. If you do not know how to calibrate a pH meter correctly, you risk over-dosing or under-dosing expensive corrosion inhibitors, leading to scale formation or pipework thinning. Modern UKGP industrial pH sensor and transmitter kits simplify this process by offering factory-calibrated reliability out of the box, yet on-site verification remains a pillar of professional water treatment. The 3-point calibration method provides a linear validation across the entire range of potential system fluctuations, ensuring that your monitoring equipment remains a dependable asset rather than a liability.
Precision in measurement directly correlates to the lifespan of expensive plant-room assets. By mastering how to calibrate a pH meter, technical teams can provide documented assurance that system water remains within the CIBSE recommended limits. This proactive approach not only satisfies insurance requirements but also optimises the thermal efficiency of the building. When accuracy is paramount, moving beyond simple handheld testers to integrated, industrial-grade sensors is the professional standard. High-quality sensors, such as those supplied by UKGP, feature 4-20 mA or Modbus outputs to ensure that your carefully calibrated data reaches the BMS without interference or signal degradation.
- Prevents catastrophic corrosion in aluminium and steel components
- Ensures compliance with BSRIA BG50 water quality monitoring
- Reduces chemical expenditure through precise dosing control
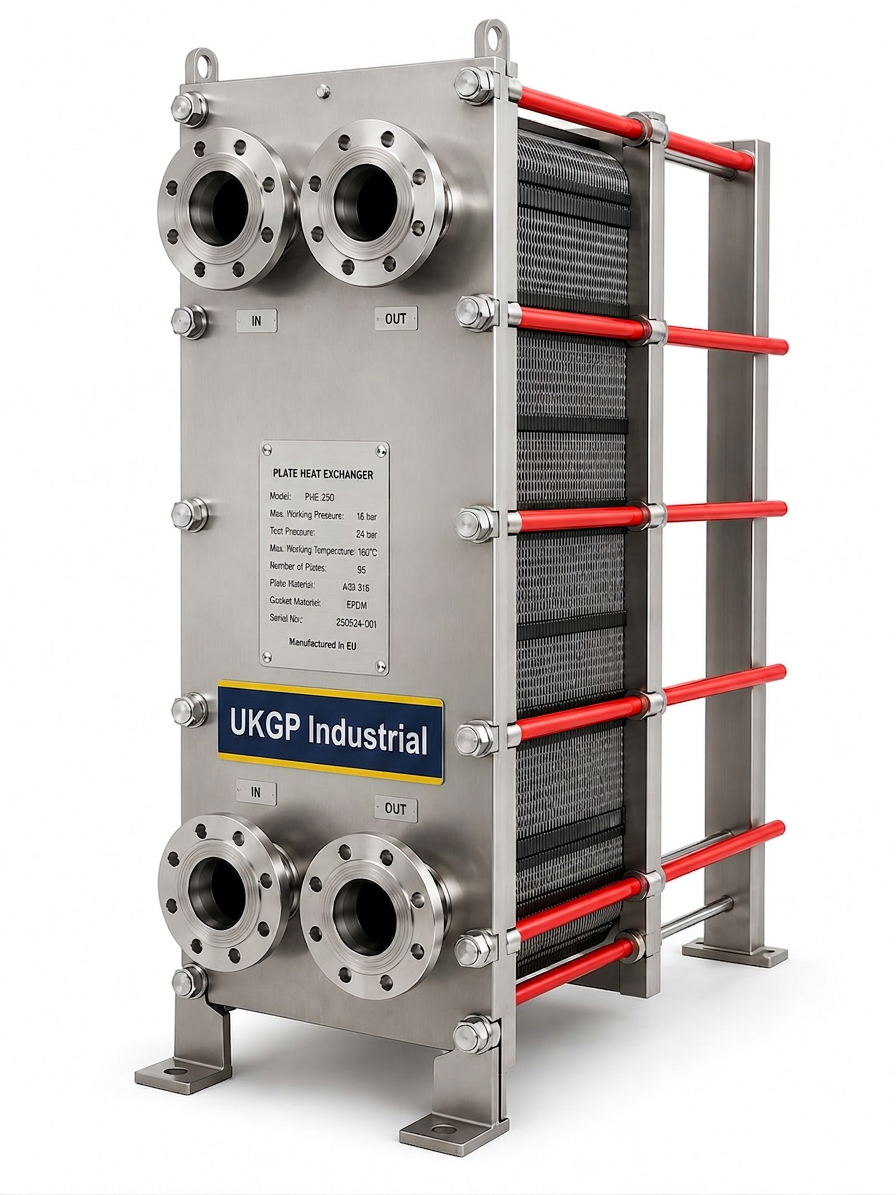
- Extends the operational life of plate heat exchangers and boilers
Preparation and equipment for 3-point calibration
Before beginning the process of how to calibrate a pH meter, you must gather the correct high-quality buffer solutions. For a 3-point calibration, you typically use buffers at pH 4.0, pH 7.0, and pH 10.0. It is vital to ensure these buffers are fresh and have not passed their expiry dates, as carbon dioxide absorption from the atmosphere can shift the pH value over time, particularly in alkaline buffers. Temperature compensation is another critical factor; ensure your buffer solutions are at the same temperature as the system fluid, or utilize a sensor with integrated temperature compensation (ATC) to automatically adjust the slope based on the Nernst equation.
The workspace must be clean and free from electrical interference. When learning how to calibrate a pH meter, many engineers fail to properly rinse the probe between buffers. Distilled or deionised water should be used for rinsing to prevent cross-contamination of the buffer solutions, which would lead to an inaccurate slope calculation. Always blot the sensor dry with a lint-free cloth rather than wiping it, as wiping can create a static charge on the sensitive glass membrane, resulting in erratic readings during the next stage of the calibration procedure. Check all M12 cable connections and power supply stability before starting.
Having the right hardware makes the process significantly more efficient. Our UKGP industrial pH sensor & transmitter range is designed for the rigours of the UK plant room, featuring an IP68 rating and a robust 2-year warranty to withstand challenging environments. These kits include the sensor, transmitter, and M12 cable kit, making it easier for site engineers to perform routine checks without fumbling with delicate laboratory equipment. When you invest in professional-grade gear, the technical task of how to calibrate a pH meter becomes a repeatable, reliable standard operating procedure that any trained plant-room engineer can execute with confidence.
- NIST-traceable buffer solutions (pH 4, 7, and 10)
- Deionised water for intermediate rinsing
- Lint-free laboratory wipes for sensor blotting
- Temperature-stable environment for buffer storage
Step-by-step: How to calibrate a pH meter using three points
The first step in how to calibrate a pH meter using the 3-point method is to establish the 'zero point' or offset using the pH 7.0 buffer. Submerge the cleaned sensor into the neutral buffer and allow the reading to stabilise. Most modern digital transmitters will have a specific calibration mode that guides you through this. Once the 7.0 reading is locked in, the transmitter calculates the offset from the ideal 0 mV signal. This step is foundational because it resets the sensor's baseline, accounting for any minor shifts in the reference electrode's potential that have occurred during its service life.
Next, move to the acidic range by rinsing the probe and placing it in the pH 4.0 buffer. This second point allows the transmitter to calculate the 'slope' for the acidic side of the scale. In this stage of how to calibrate a pH meter, the device is essentially measuring how many millivolts are generated per pH unit change. A healthy sensor should show a slope between 92% and 102% of the theoretical value. If the transmitter reports a slope below 85%, it indicates that the sensor membrane is fouled or exhausted and requires either deep cleaning or replacement to maintain BSRIA compliance.
Finally, rinse and repeat the process using the pH 10.0 buffer to define the alkaline slope. This completed 3-point profile ensures maximum accuracy across the entire spectrum, which is essential for HVAC systems where pH may fluctuate during chemical dosing or system make-up events. Once you have mastered how to calibrate a pH meter using this sequence, the transmitter can be switched back to 'measure' mode. Reinstall the sensor into the flow cell or low loss header, ensuring the M12 cable is secure and the 4-20 mA or Modbus output is correctly updating the building's central control system.
- Always start with pH 7.0 buffer to set the offset
- Use pH 4.0 and 10.0 to define the high/low slopes
- Monitor the 'slope' percentage to judge sensor health
- Verify the resulting 4-20 mA signal at the BMS head-end
Maintaining sensor health between calibrations
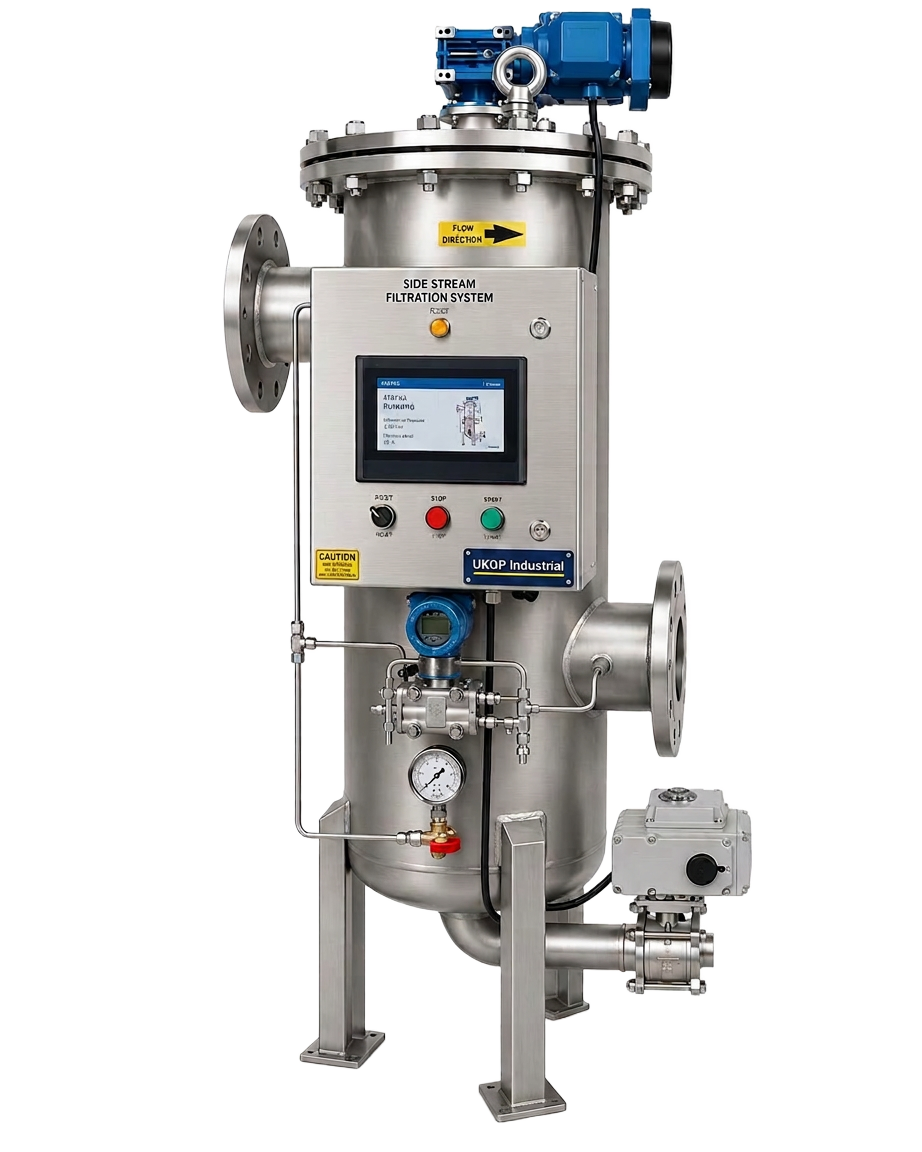
Even after you have mastered how to calibrate a pH meter, the longevity of your sensor depends heavily on its operating environment. In systems where suspended solids are present, the glass bulb can become coated in magnetite or scale, which insulates the probe and causes slow response times or measurement drift. Installing high-efficiency side stream filtration can significantly extend the interval between manual cleanings. By removing abrasive particles down to sub-micron levels, you protect the delicate glass membrane and ensure that the calibration you have performed remains valid for a longer period of time, reducing the maintenance burden on FMs.
Storage is another critical factor for equipment longevity. If a sensor is removed from a line, it must never be allowed to dry out. The reference junction must remain hydrated in a specific storage solution (usually 3M KCl) to prevent the internal electrolyte from crystallising. When engineers do not know how to calibrate a pH meter or fail to store it correctly, the device often fails prematurely. Purchasing a UKGP industrial pH sensor & transmitter with a 2-year warranty provides peace of mind, but following these basic care instructions ensures you get the maximum value from your investment throughout its operational life.
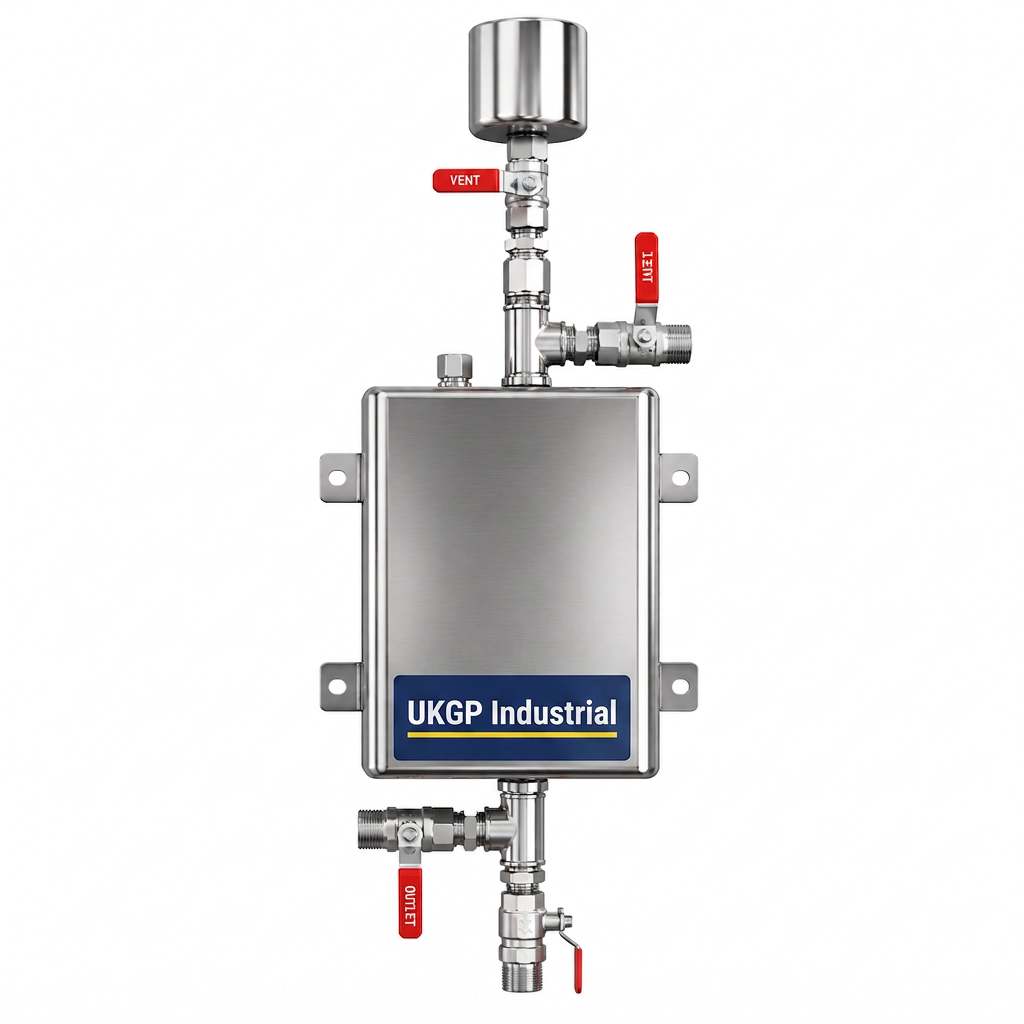
For those managing large-scale commercial developments, integrating pH monitoring with other mechanical components is best practice. For example, monitoring pH levels at the low loss header or after a plate heat exchanger can provide a clear picture of how water chemistry varies across different temperature circuits. When you combine the technical knowledge of how to calibrate a pH meter with high-quality UKGP hardware, you create a robust monitoring regime. This data-driven approach is what separates premium facility management from reactive, 'fire-fighting' maintenance, ensuring that the water quality always aligns with BS 8552 requirements and the original design specification.
- Install side stream filtration to protect the sensor bulb
- Never store the pH probe in deionised water or dry air
- Keep the M12 cable kit clean and free from moisture ingress
- Schedule quarterly 3-point calibrations for high-risk systems
Interpreting 4-20 mA and Modbus data outputs
Once you have successfully completed the process of how to calibrate a pH meter, the focus shifts to data transmission. In a typical UK plant-room setup, the pH transmitter converts the millivolt reading from the sensor into a 4-20 mA analogue signal or a digital Modbus register. It is essential to verify that the scaling on your BMS matches the transmitter’s settings. For instance, if the transmitter is set to output 4 mA at pH 0 and 20 mA at pH 14, a reading of 12 mA should precisely represent pH 7. Any discrepancy here often points to a configuration error rather than a calibration issue.
Choosing between 4-20 mA and Modbus depends on your control architecture. Analogue signals are simple and robust, but they are more susceptible to electromagnetic interference over long cable runs. Digital Modbus outputs provided by a UKGP industrial pH sensor & transmitter allow for much more detailed diagnostics, including temperature data and sensor health alerts, directly to the engineer's dashboard. Understanding how to calibrate a pH meter and then verify its output ensures that the control logic governing your chemical dosing pumps is based on real-world conditions, preventing the hazardous swings in water chemistry that lead to system failure.
Regularly checking the output consistency against a calibrated portable meter is a good validation step. If the BMS shows pH 8.2 but your handheld device shows 7.5, it is time to revisit the steps on how to calibrate a pH meter. This cross-verification is particularly important after commissioning or when the system has been opened for maintenance. With a factory-calibrated UKGP unit, you have a solid starting point, but the local environment—such as flow rate and pressure—can subtly influence the sensor's performance. Maintaining a log of calibration results is a vital part of the technical record-keeping required by modern health and safety frameworks.
- Ensure 4-20 mA scaling matches BMS software settings
- Use shielded M12 cables to prevent signal noise
- Utilise Modbus for remote diagnostics and sensor health monitoring
- Log all calibration dates and slope results for BSRIA audits
Troubleshooting common calibration failures
Sometimes, even when you follow the guide on how to calibrate a pH meter perfectly, the transmitter may fail to accept the calibration. The most common cause is a slow response time, often caused by a 'poisoned' junction or an air bubble trapped in the sensor tip. To resolve this, gently shake the sensor like a clinical thermometer to move the bubble. If the problem persists, the sensor glass may need rejuvenation with a mild cleaning solution. Modern industrial transmitters will often display error codes which, when cross-referenced with the manual, can save hours of diagnostic time in the plant-room.
Interference from ground loops or high-frequency drives (VFDs) can also make it difficult to learn how to calibrate a pH meter on-site. If the signal jumps erratically while the sensor is in the buffer, it may be picking up electrical noise. Ensuring that your UKGP transmitter is properly earthed and using the provided M12 cable kit can mitigate these issues. If the unit still fails to calibrate, check the age of the sensor. Most industrial pH probes have a lifespan of 12 to 24 months in continuous use; beyond this, the reference electrolyte is often too depleted to provide a stable, repeatable signal.
Ultimately, the goal of knowing how to calibrate a pH meter is to ensure the reliability of your dosing strategy. If recalibration becomes necessary every few days, it suggests that the sensor location is suboptimal—perhaps there is too much turbulence or the pressure is exceeding the sensor's rating. Our UKGP technical team is always available to help specify the right mounting assembly for your plant-room. Requesting a quote for a new industrial pH sensor & transmitter includes our full support on specification to ensure that your chemical dosing pots and separators are always receiving the most accurate data possible for long-term system health.
- Check for air bubbles in the sensor tip
- Inspect M12 cables for damage or moisture ingress
- Ensure buffer solutions are fresh and uncontaminated
- Replace sensors older than 24 months to maintain accuracy
Frequently asked questions
How often should I calibrate an industrial pH sensor?
- Per BSRIA BG50 guidelines, for most closed-loop systems, we recommend checking the calibration monthly and performing a full 3-point calibration quarterly. If the system is undergoing heavy chemical treatment, more frequent checks may be required.
What is the difference between 2-point and 3-point calibration?
- A 2-point calibration sets the offset and one slope, which is usually sufficient for a narrow range. However, 3-point calibration (pH 4, 7, and 10) provides a more accurate performance curve across the entire scale, which is the professional standard for high-value HVAC plant-rooms.
Can I use tap water to rinse the pH probe?
- It is not recommended. Tap water contains ions that can contaminate your buffer solutions and affect the millivolt reading. Use deionised or distilled water to rinse the sensor between points when you calibrate a pH meter.
What is a good 'slope' percentage on a pH transmitter?
- A high-quality sensor should have a slope between 90% and 102%. If the slope drops below 85% during calibration, the sensor is likely nearing the end of its life and should be replaced to ensure system safety.
Does temperature affect pH readings?
- Yes, pH is highly temperature-dependent. Our UKGP industrial pH sensors include integrated temperature compensation to ensure that the 4-20 mA output remains accurate regardless of system water temperature fluctuations.